If there is any part unavailable, please send a request using the form at the bottom of the page. The deficiency will be corrected in a short time. Other users who come after you will thank you. 👍
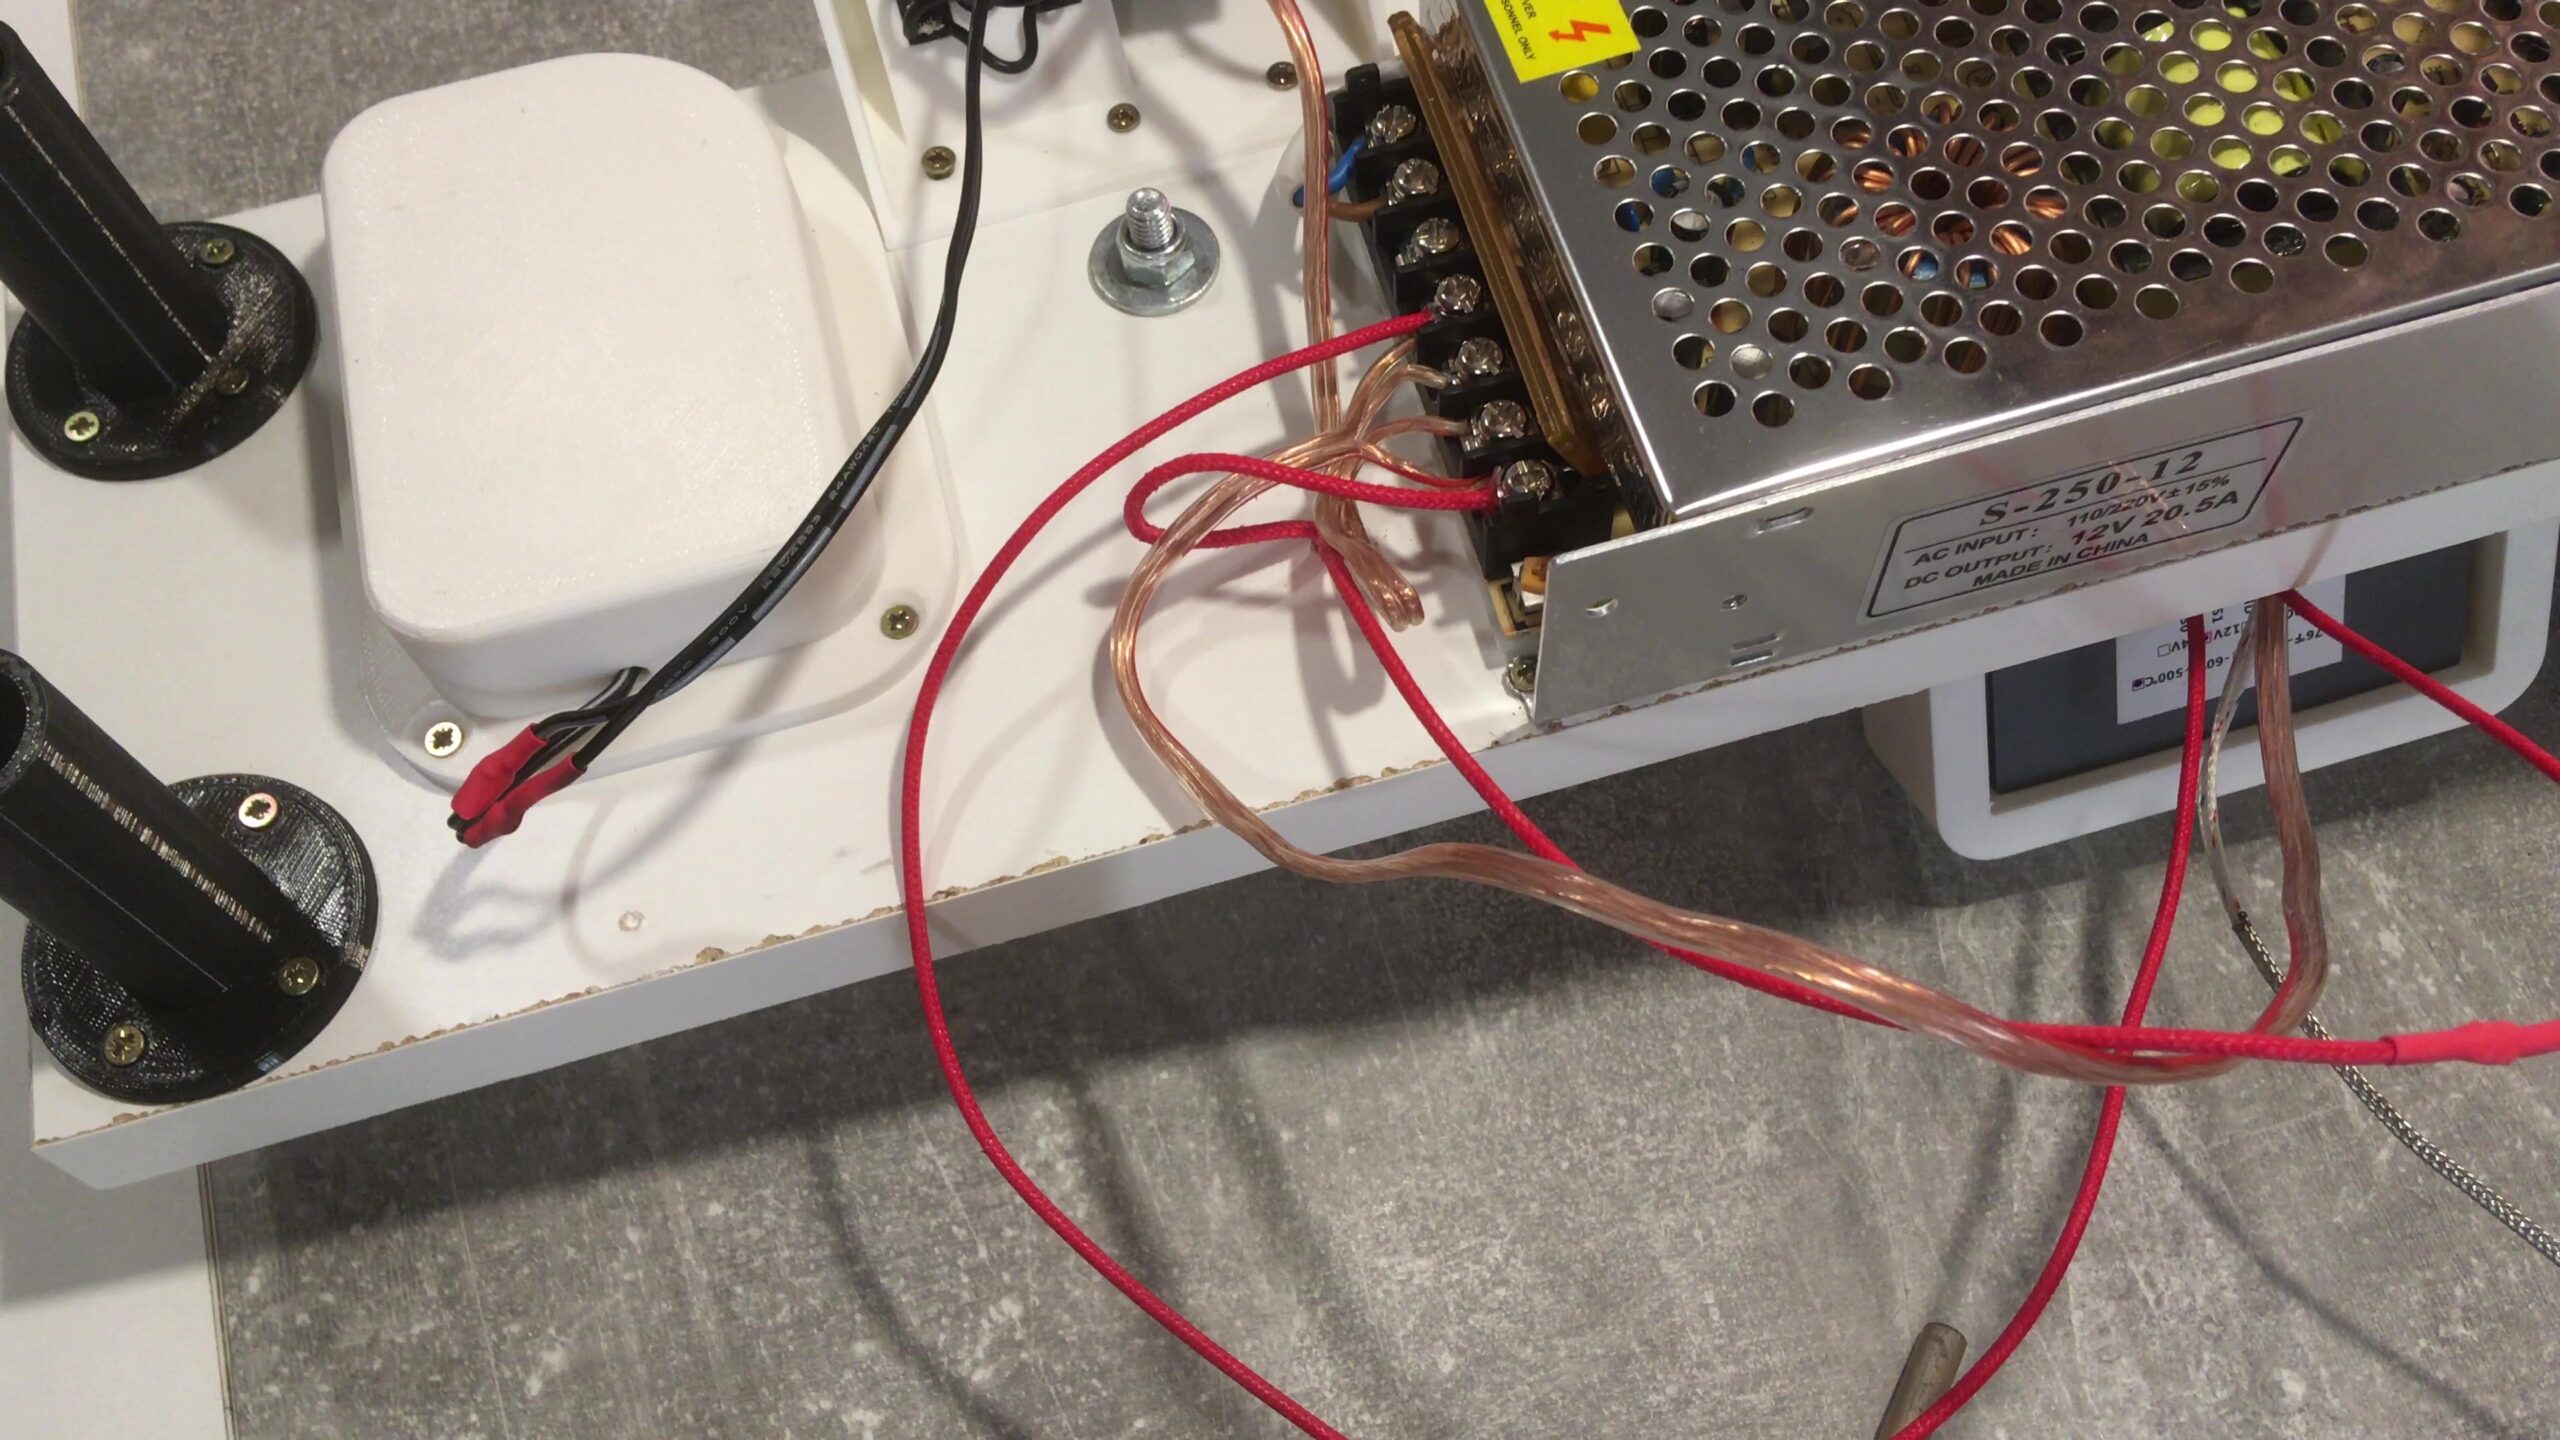
Power supply 12V 10A (120W)

You can use 5A and also 10A. The difference is in the stability of the engine speed and the stability of the nozzle temperature. The stronger the source, the faster the nozzle heats up.
12V (7RPM) DC motor

The motor is built into the holder and drives the spool for winding the finished pet filament. This 12V DC motor has its own gearbox (it is not necessary to print the gearbox). This means very high torque without any additional gear system.
PWM Regulator 12V 5A

PWM 12V DC Motor Speed Controller Module DC-DC 4.5V-35V Adjustable Speed Regulator. This small component allows for a smooth reduction or increase in engine speed without loss of torque.
6mm DC motor shaft coupler

This small metal piece is solving all the previous problems with the spool slipping on the shaft. Cheap and simple upgrade :-).
608ZZ – 6pcs

Bearings for puller and for your cutter. For cutter use you need to sharp them. Please watch tutorial. Remember on your safety 🙂
Thermocontroller (12V – up to 500°C)

Simple wiring, simple remoting temperature. No hacks, no struggle. Be careful on params. You need 12V one with working temperature up to 500C!
12 N20 (300RPM)

Geared 12V (300RPM) DC motor for cutter. This part is moving cutter blade up and down with worm gear 3D printed gear system. The 300 RPM is good speed/torque foe easy, and slow moving the blade up and down.
Heatblock

The heat block is the part heated by the heating element (12V 40W). When choosing, it is important to know that the larger the block, the slower it cools with less temperature fluctuations.
Heater 12V (40W)

Ceramic heater 12V (40W) is a component that is inserted into the heat block and ensures heating of the nozzle. It is a cheap and simple component.
Microswitch (2PCS)

Two pieces of microswitches for controlling the height of the cutter blade. The height of the knife blade determines the width of the cut strip from the PET bottle. This will give you the ideal width due to the differences in wall thickness of different bottles.
Color Switch (230V)

The colored power switch used in the previous version of PETamentor. It is important that the switch is sized for the power of your socket. If your local network is 110V, you can safely use a switch for 230V, never the other way around!
Nozzle 1.5mm

To convert a PET bottle into filament, I use a standard nozzle with a diameter of 0.4 mm, which must be drilled. Drilling is very simple, using a 1.5mm drill bit. Here is a video tutorial.
Metal Bracket

L shape metal bracket (20×20) for mouting a heatblock with the nozzle. Hole is little bit tight, so its better to drill it with 6mm drill bit (only for a nozzle).
M3 Screws (10mm and 8mm)

Screws for cutter assembly, puller assembly and spool assembly.
15x M3 8mm
4x M3 10mm
Wood screws M2.6 (10-12mm long)

Wood screws that are for attaching all the 3D printed parts of the PETamentor. The wood screws must not be longer than the thickness of your wooden platform.
M8 Threaded Rod (500mm)

M8 (8mm) threaded rod – length 500mm, needed for cutter. I personally shortened the rod to 45mm. But that depends on your local conditions. You can print an included telescopic rod instead of buying this 🙂 (STL is already included)
M8 (100mm 1pcs, 60mm 3pcs)
Please submit a request to restore the parts link. Each seller may be out of stock or not support shipping to your country. Your requirements allow me to select the best suppliers and component sources. By submitting the form, you agree to possible contact with an offer of alternative sources of components to your email.
